One of the simplest ways to upload WordPress files to Amazon S3 is with the WP2Static plugin by Leon Stafford. At this point on the journey toward deploying a serverless WordPress site on AWS, you should have set up your deployment environment on AWS, set up a local development environment, and created your content.
This page is part of a complete guide to deploy a serverless WordPress site on AWS. Below is an outline of the guide with links to the other steps.
- Set up the deployment environment on AWS
- Set up a local development environment
- Generate and upload your content to AWS
Prerequisite
Prior to proceeding with the upload to Amazon S3 you will need to set up an IAM user on AWS with the appropriate permissions for S3. You will need to obtain the user Access Key ID and Secret Access Key in order to upload directly to Amazon S3 with the WP2Static plugin.
Step 1: Open the WP2Static plugin
Launch a web browser, enter localhost/wordpress/wp-admin.php in the address bar, and log in to the WordPress Dashboard.
Along left navigation menu, click WP2Static
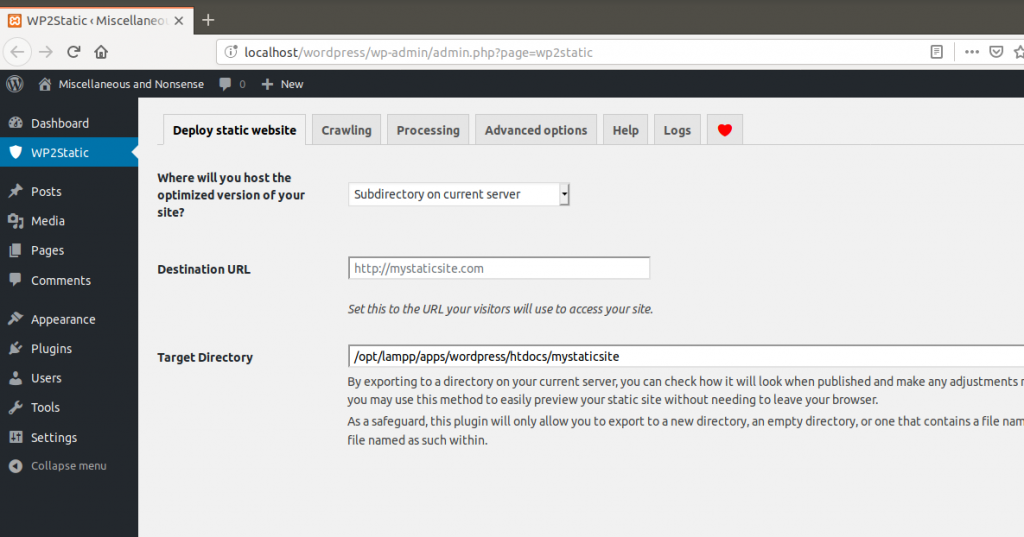
Step 2: Enter Amazon S3 information on the Deploy static website tab
On the Deploy static website tab, select Amazon S3 in the drop-down list beside Where will you host the optimized version of your site?
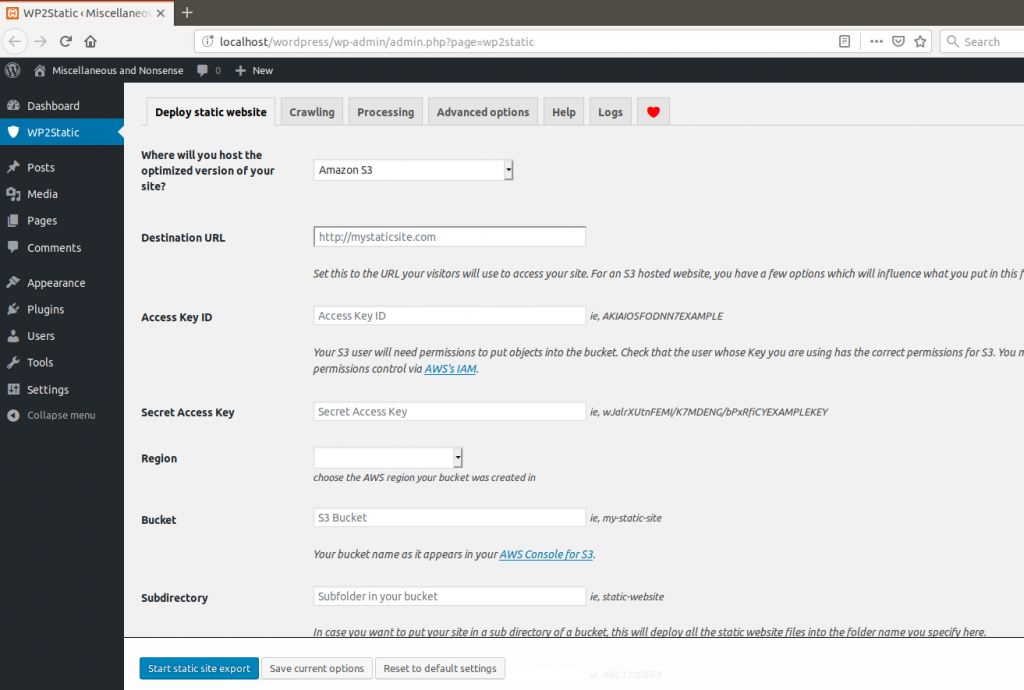
Type the name of your custom domain in the Destination URL. For example, my custom URL is https://demo.kirbyvirden.com
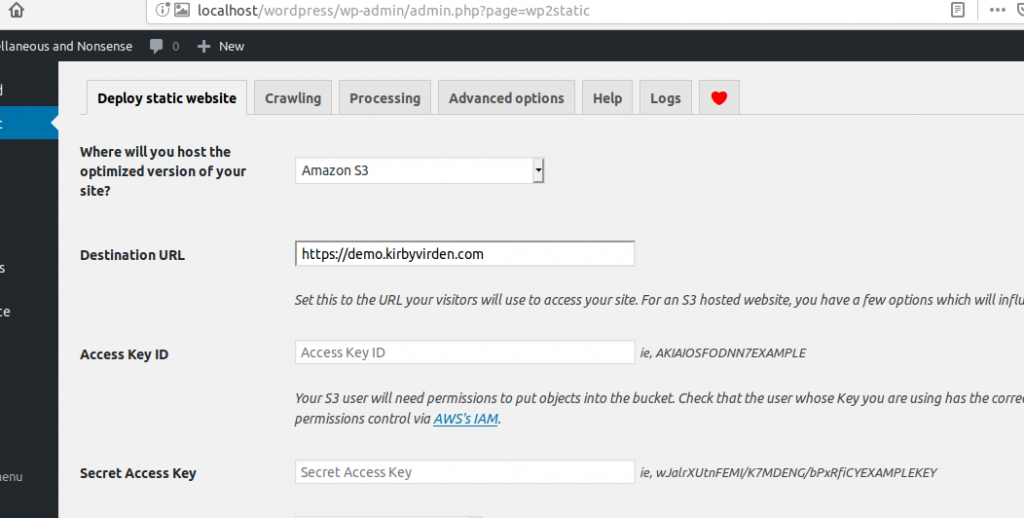
Enter the Access Key ID and Secret Access Key for your authorized IAM user
Select the Region where your Amazon S3 bucket is located. You can find the region on the Amazon S3 console. My bucket is US East (Ohio).
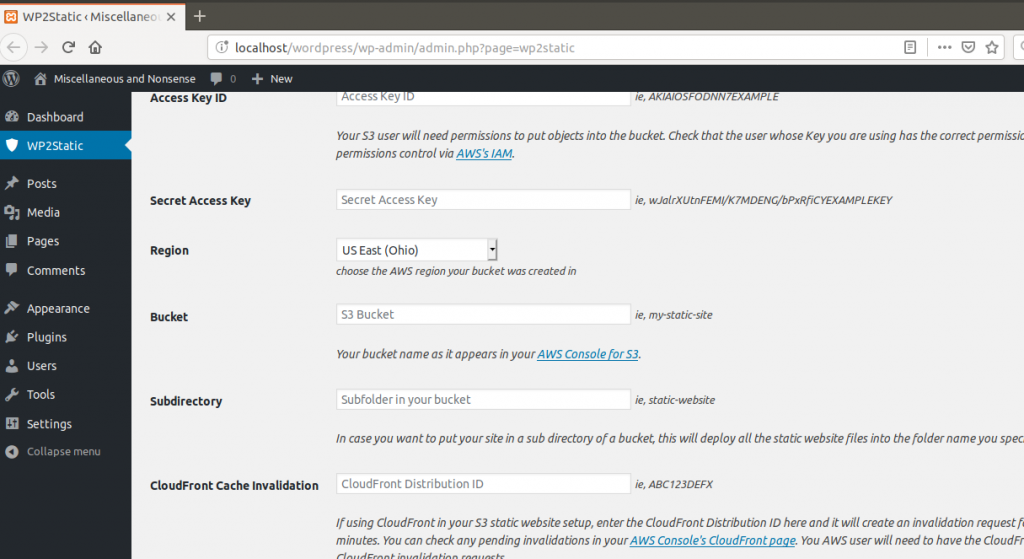
Enter the name of your bucket in the Bucket field. This will be the name of the bucket as it appears on the AWS Console for S3. Continuing the example I enter demo.kirbyvirden.com for my Bucket.
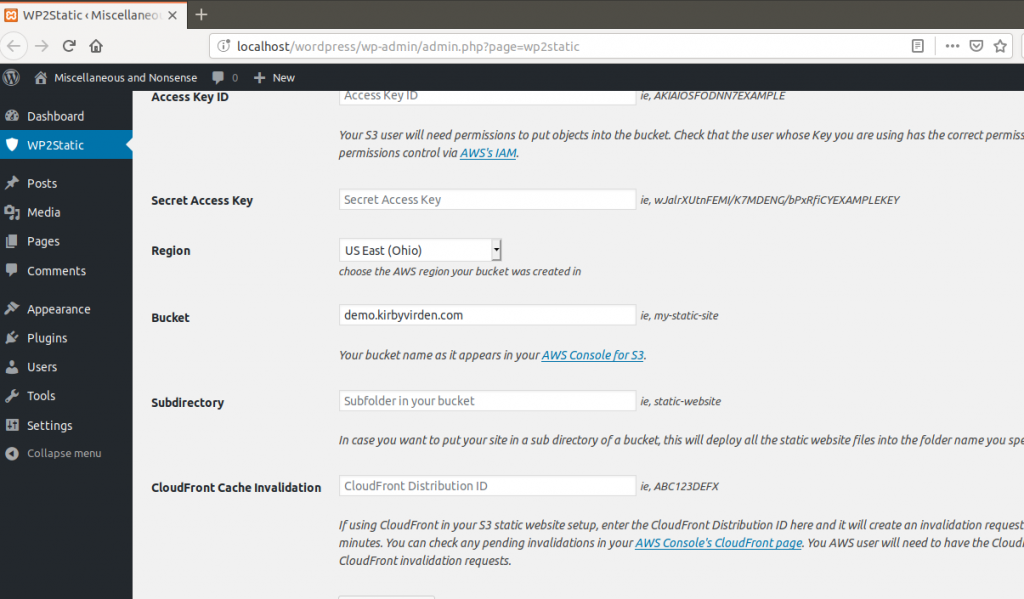
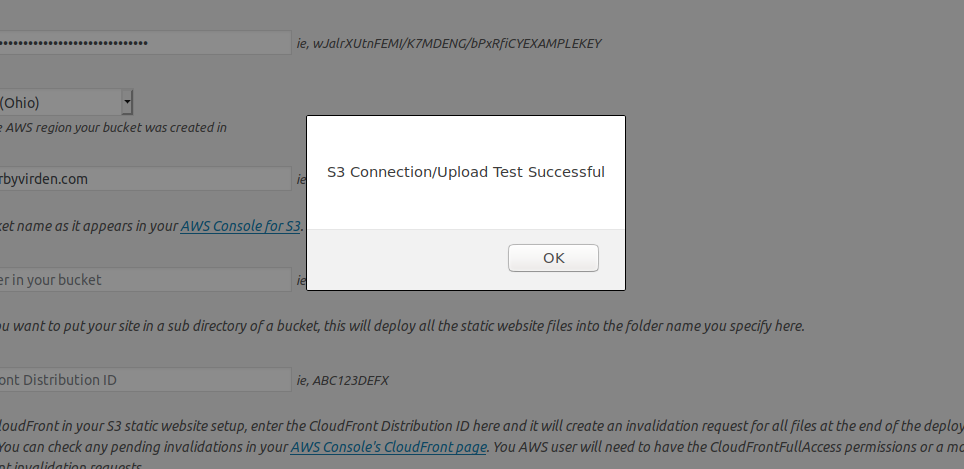
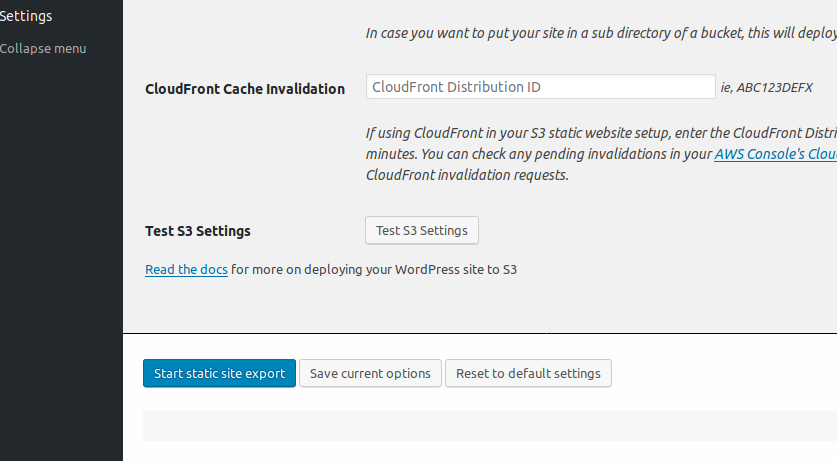
Once all information is entered then you can click Test S3 Settings. If successful then you will see a pop-up dialog box.
Finally, click Start static site export to begin the file upload to Amazon S3.
WP2Static will crawl the initial file list, crawl discovered URLs, and begin deploying files to S3. After a few minutes the plugin will notify you when the process is complete.
Summary
At this point, the process is complete! You can now launch a web browser and navigate to your custom URL.
Congratulations! You now have a serverless WordPress site hosted on AWS