After you have installed XAMPP on your local machine, then the second step in setting up a local development environment for your serverless WordPress site on AWS is to install the Bitnami WordPress module on top of XAMPP.
Step 1: Download the installation package
Open the applications download page on the Bitnami site.
https://bitnami.com/stack/xampp
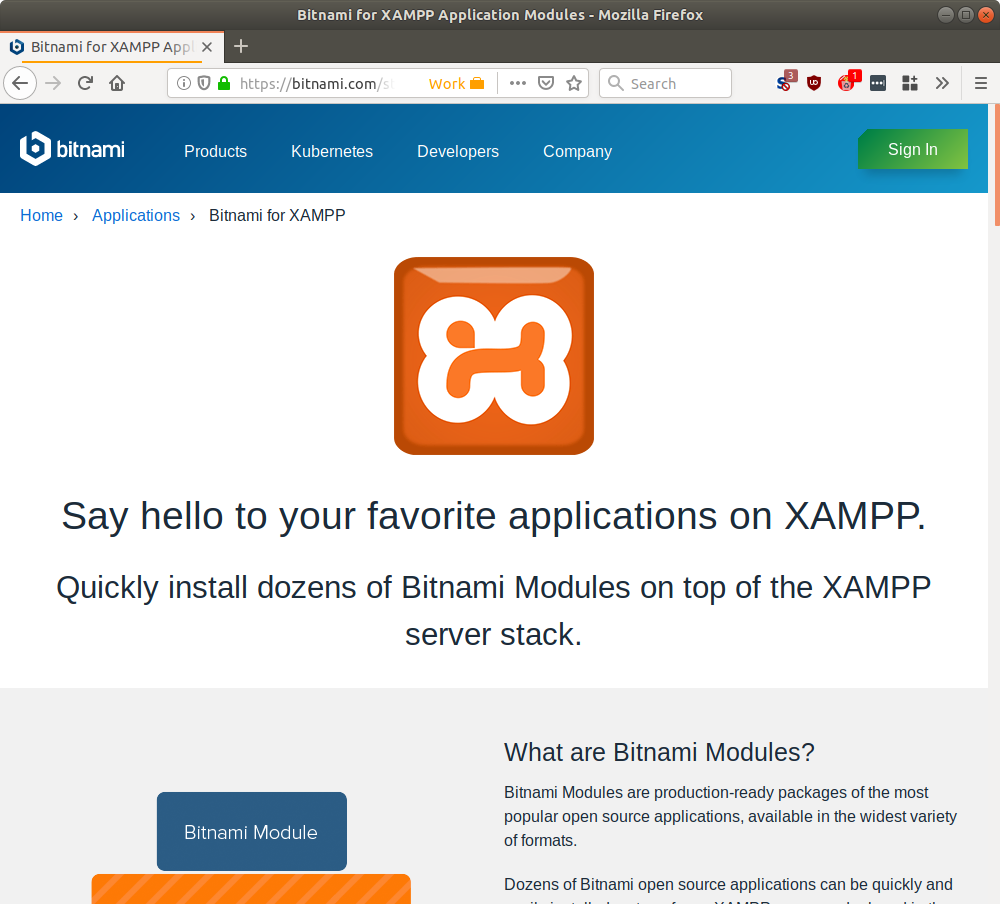
Select the appropriate package for your operating system.
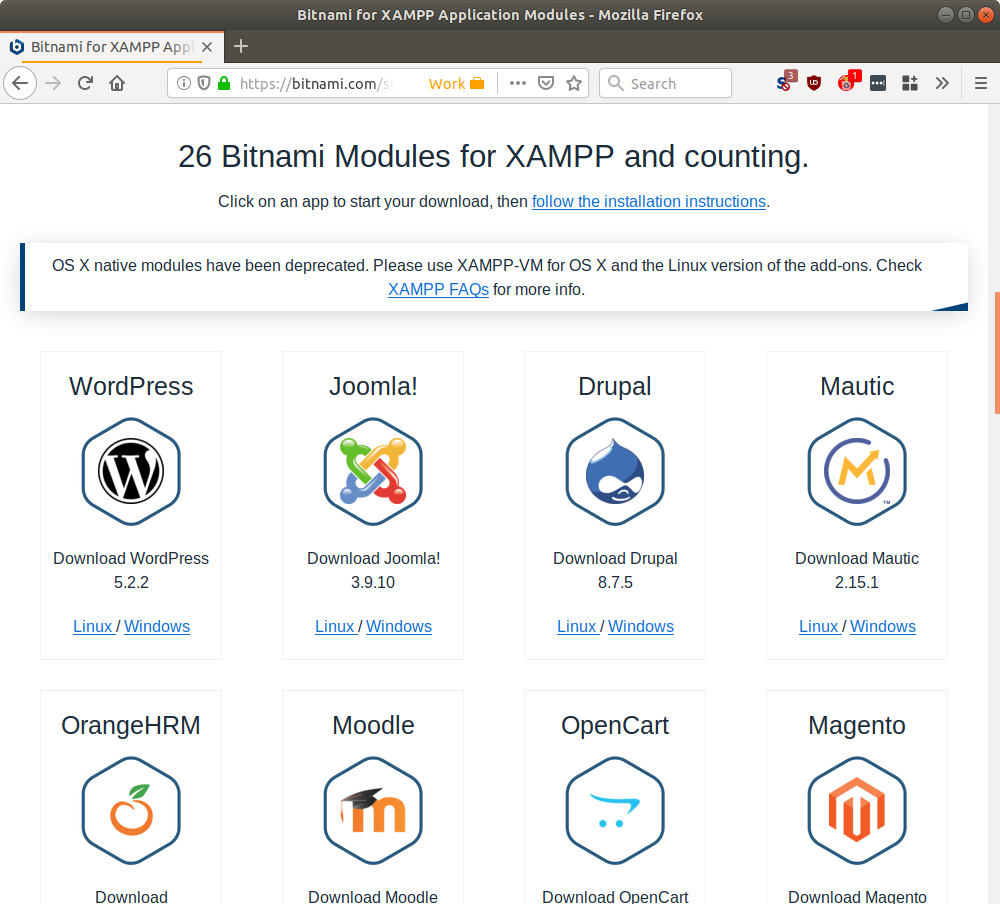
Save the file to your local machine.
Step 2: Set permissions and run the installation package
Ubuntu users need to permission the installation package before running it. First, launch the terminal window (CTL+ALT+T)
Now change directories to the folder where you saved the installation package. In my case I saved the file in the Downloads folder
$ cd ~/Downloads/
List the filenames within the folder
$ ls
Now change the file privileges of the installation package to make the file executable
$ sudo chmod +x [FILENAME]
Finally, run the installation package to launch the Bitnami WordPress Module Setup Wizard
$ sudo ./[FILENAME]
As an example here are the command lines for the version that I installed –
$ sudo chmod +x bitnami-wordpress-5.2.2-2-module-linux-x64-installer.run
$ sudo ./bitnami-wordpress-5.2.2-2-module-linux-x64-installer.run
Step 3: Complete installation using the setup wizard
When you run the installation package the Bitnami WordPress Module Setup Wizard will launch.
First, make sure XAMPP is already running. On Ubuntu issue the following command –
$ sudo /opt/lampp/lampp start
Select your language
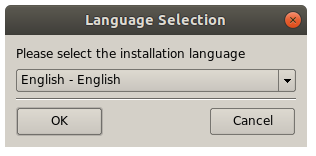
Click OK

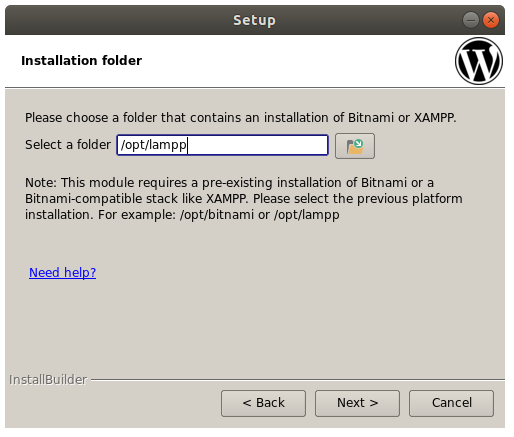
Set the XAMPP installation directory. The default installation directory is typically C:\xampp on Windows, /opt/lampp on Linux and /Applications/XAMPP on Mac OS X
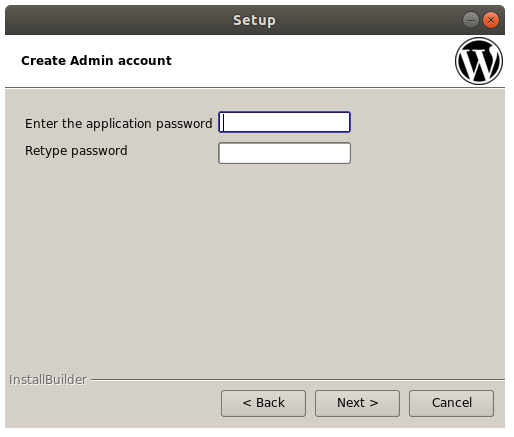
Enter a password for the Admin account
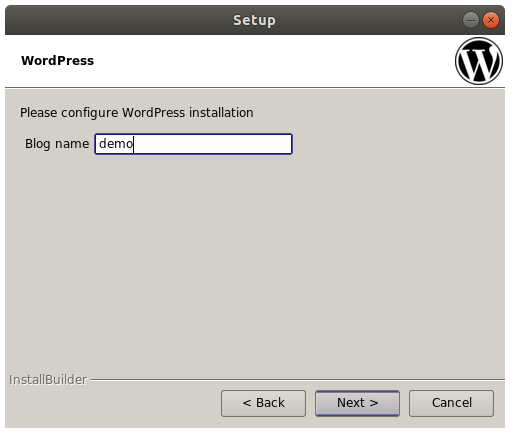
Enter a name for your blog / website
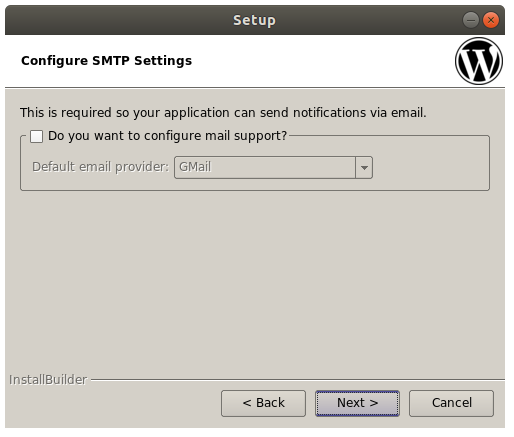
Click Next (do not setup mail)
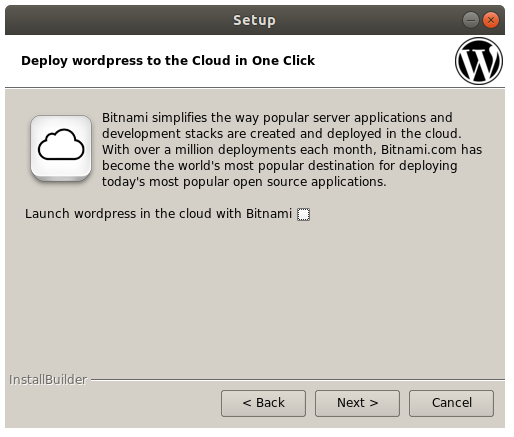
Uncheck the box for “Launch WordPress in the cloud with Bitnami”. Click Next
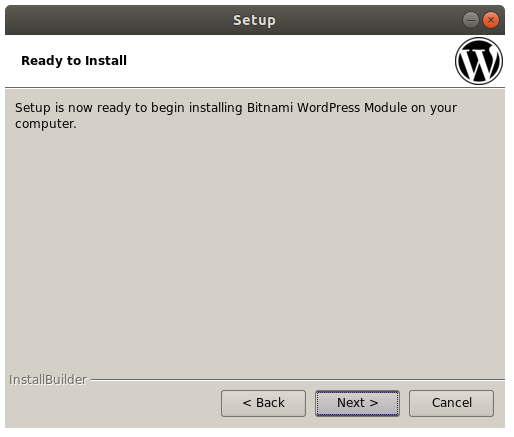
Click Next to launch installation
Step 4: Confirm the installation
Launch a web browser and enter https://kirbyvirden.com
You should be presented with the setup screen for WordPress!
Summary
You now have a development environment on your local machine that you can use to develop the content for your serverless WordPress site on AWS. Now you need to generate and upload your content to AWS. Next we will prepare WordPress for a serverless distribution.
- Set up the deployment environment on AWS
- Set up a local development environment
- Generate and upload your content to AWS