To create the deployment environment on AWS for a serverless WordPress site you need to create an Amazon S3 bucket to host your serverless WordPress files. This page will walk you through the steps to create an appropriately named bucket and grant the required bucket permissions.
Step 1: Create the Amazon S3 bucket
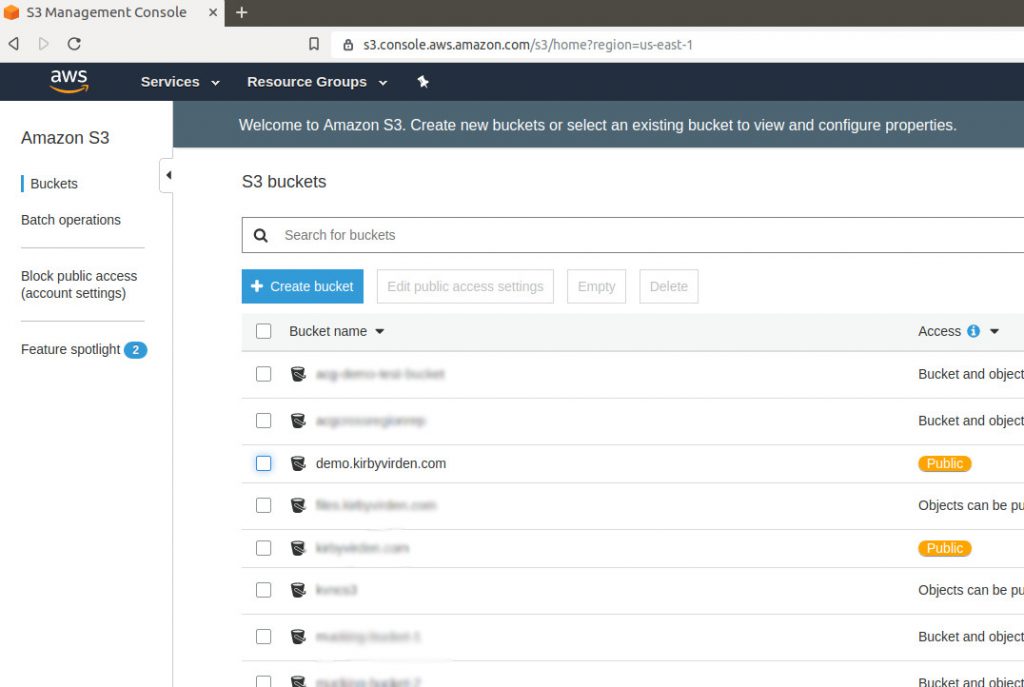
Log in to AWS and navigate to the Amazon S3 service. The S3 Management Console will load.
Click on Create Bucket

CRITICAL – the bucket name must match the domain name.
If you are hosting the site at the root domain level (e.g. https://demo.com), then the name of the bucket must be rootdomain.TLD (e.g. demo.com). Ignore “https://”.
If you are hosting the site on a subdomain (e.g. https://test.demo.com), then the name of the S3 bucket must be subdomain.rootdomain.TLD (e.g. test.demo.com)
As an example, here is a screenshot for the name of the bucket used for the subdomain https://demo.kirbyvirden.com
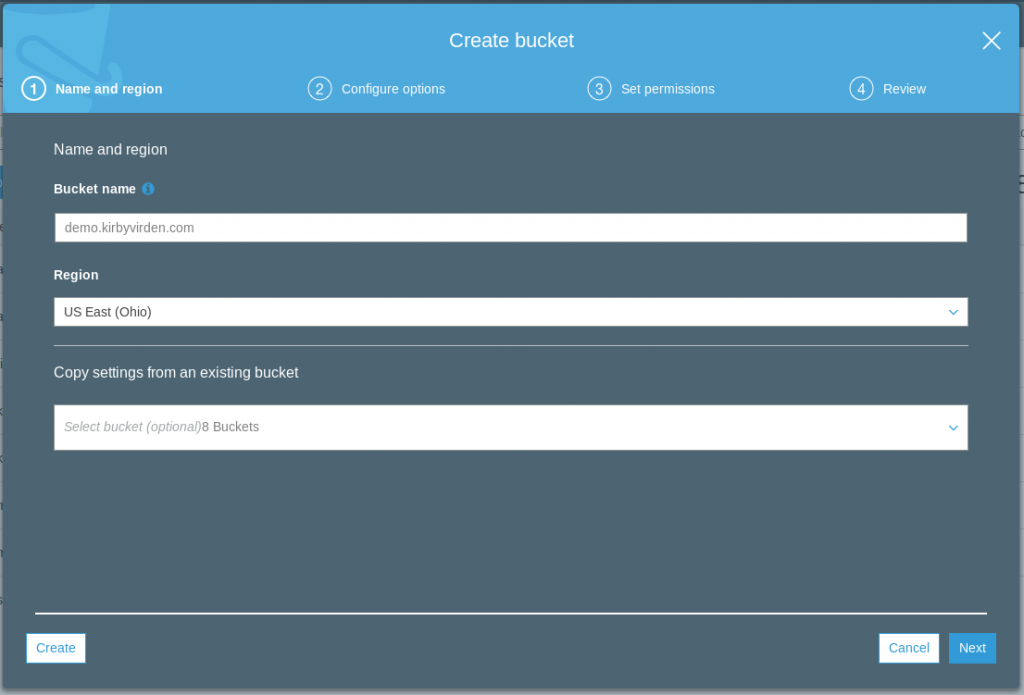
Click Next
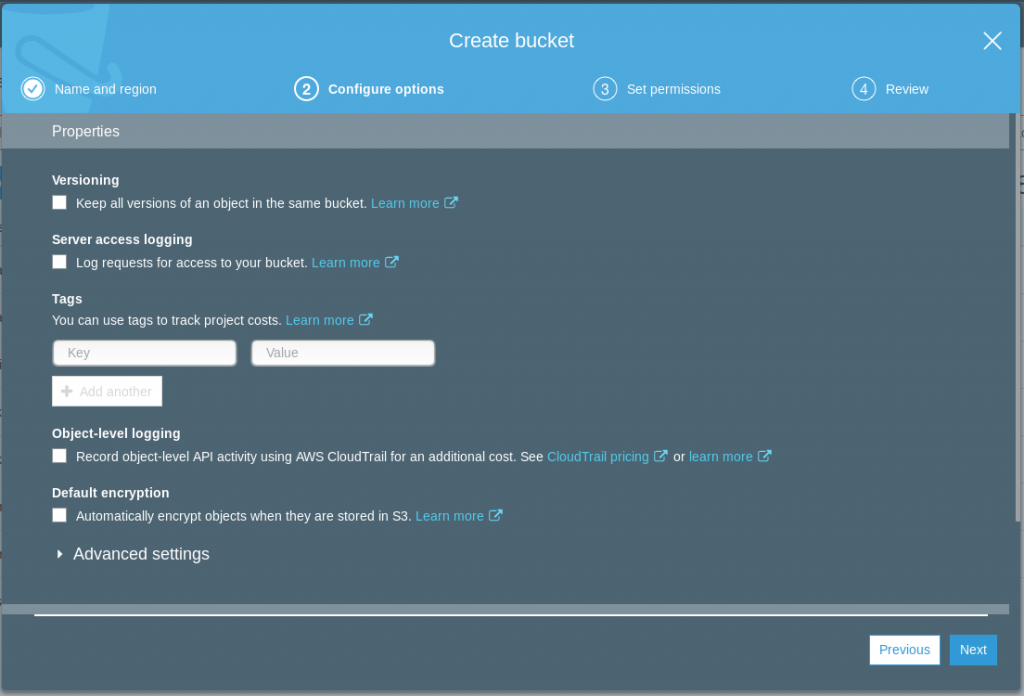
Keep the defaults for Configure options and select Next
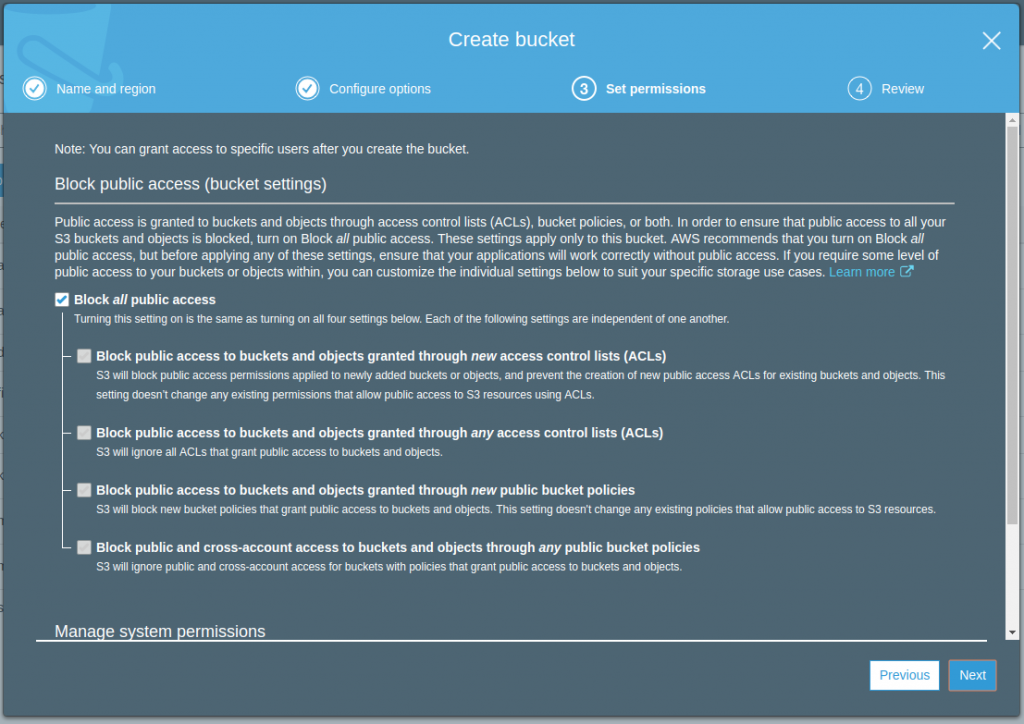
Keep defaults on Set Permissions and click Next
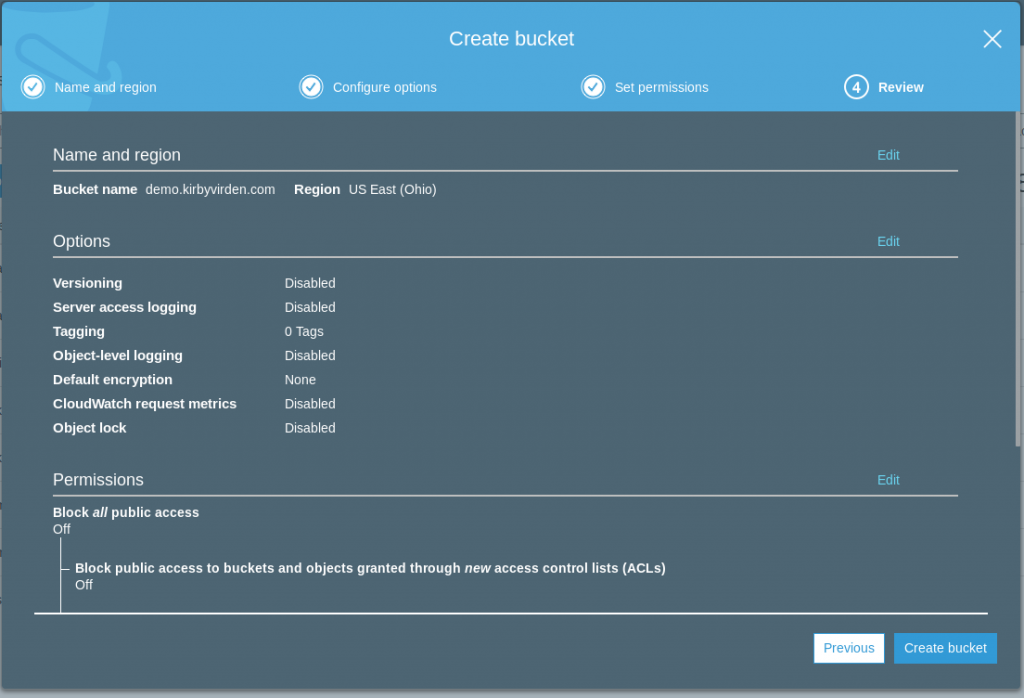
Review and select Create bucket
Step 2: Set bucket Properties
Click the Bucket name of the bucket that you just created
Click on the Properties tab when the bucket page loads
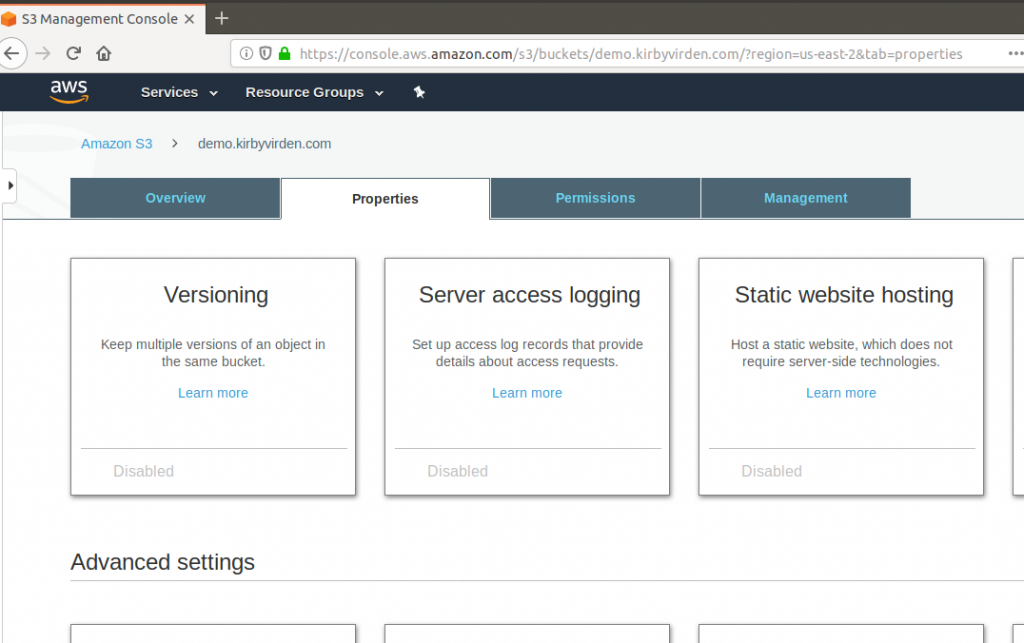
Click on Static website hosting.
Select Use this bucket to host a website.
Enter the index document and error document names. The default suggestions are fine.
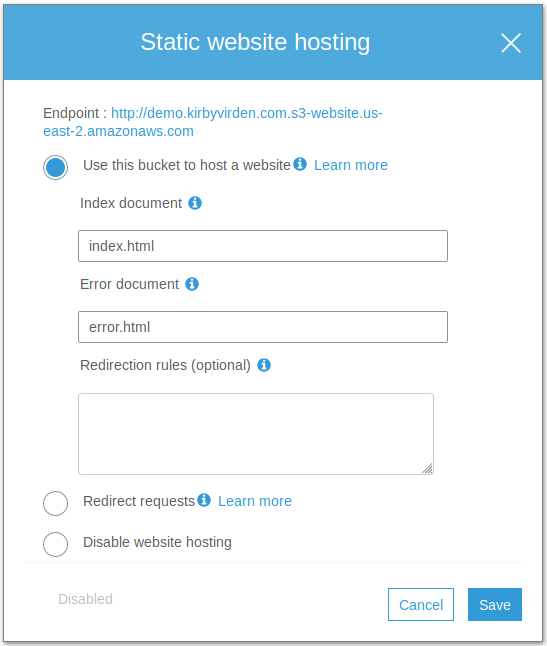
Click Save
Summary
You have now created an Amazon S3 bucket to host your serverless WordPress site. To finish the AWS deployment environment you need to set up Amazon CloudFront and Route 53.
- Set up the deployment environment on AWS
- Set up a local development environment
- Generate and upload your content to AWS