After you set up an Amazon S3 bucket for website hosting, you then need to create an Amazon CloudFront distribution and Route 53 A record. Once complete you will have set up the deployment environment for hosting a serverless WordPress site on AWS.
Advantages of Amazon CloudFront and Route 53
The combination of Amazon CloudFront and Route53 provides several advantages. Route 53 lets you use a custom domain name for your serverless website. CloudFront provides free SSL certificates so that traffic to your site connects via HTTPS. Finally, by using CloudFront you take advantage of the AWS content delivery network (CDN). This reduces latency for users by pushing content closer to them through the CloudFront Global Edge Network locations.
Prerequisites
Prior to proceeding with this guide you will need to set up initial domain records on Route 53 and get a SSL certificate from Amazon Certificate Manager –
- Configure Amazon Route 53 as your DNS service
- Create an Amazon Route 53 hosted zone
- Obtain a SSL certificate for your domain from Amazon Certificate Manager
Once you have those in place then you are ready to create your CloudFront distribution and configure the Route 53 DNS record.
Step 1: Create a CloudFront distribution
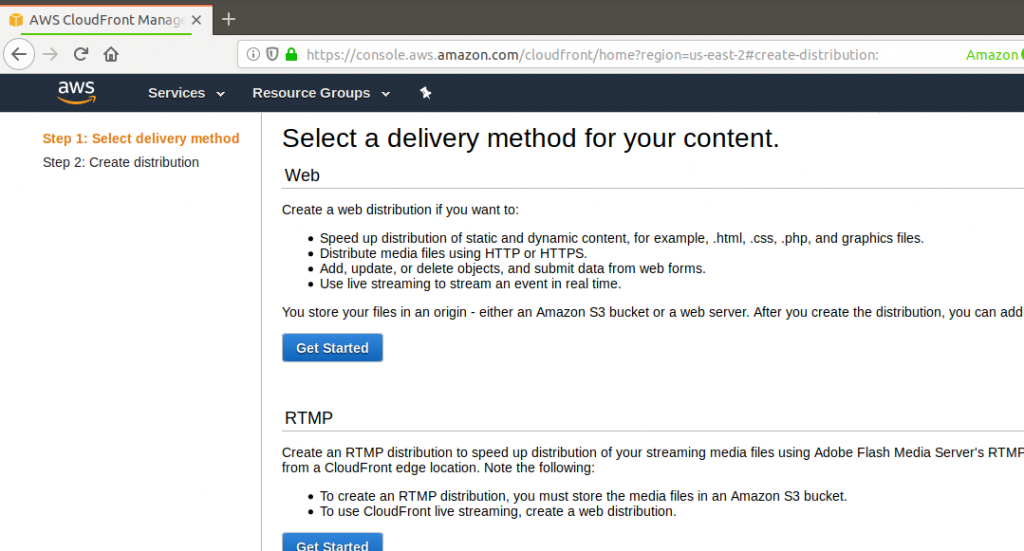
Sign in to the AWS Management Console, navigate to the CloudFront service, and click Create Distribution

Click Get Started to create a web distribution
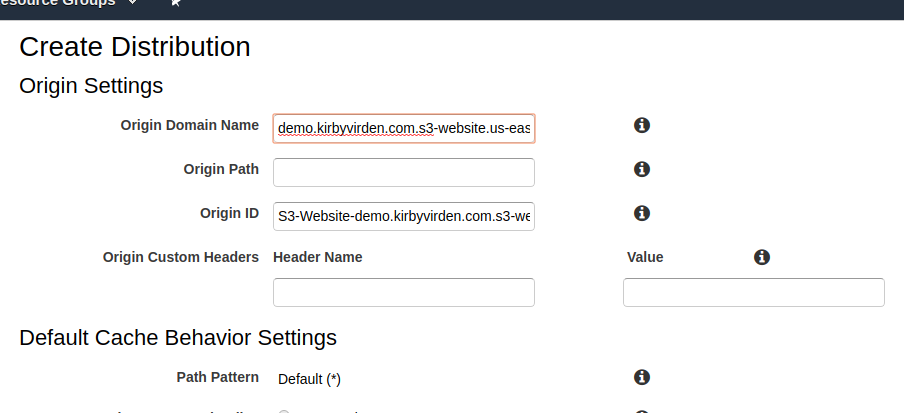
For Origin Settings, paste the S3 bucket ARN of your new S3 bucket. The S3 bucket ARN is located in the Static website hosting property on the Properties tab of the Amazon S3 Console
As an example, here are the Origin Settings for my distribution –
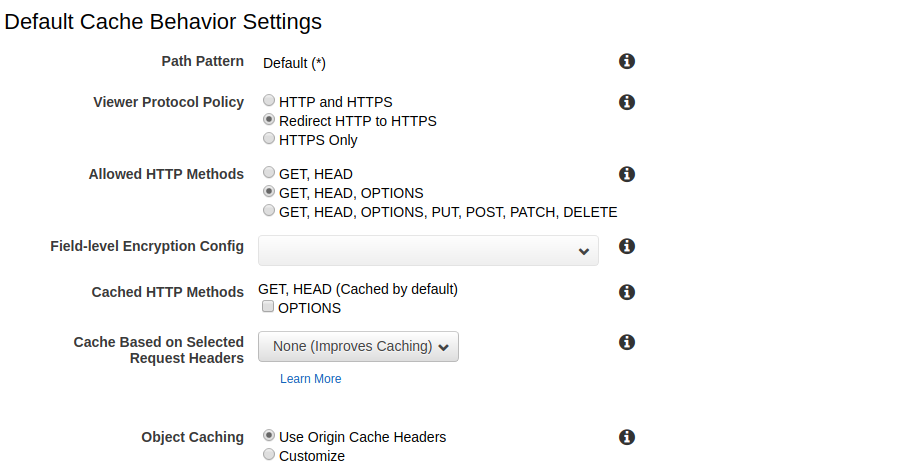
For Default Cache Behavior Settings, change the Viewer Protocol Policy to Redirect HTTP to HTTPS. Also change Allowed HTTP Methods to Get, Head, Options. Proceed to Distribution Settings.
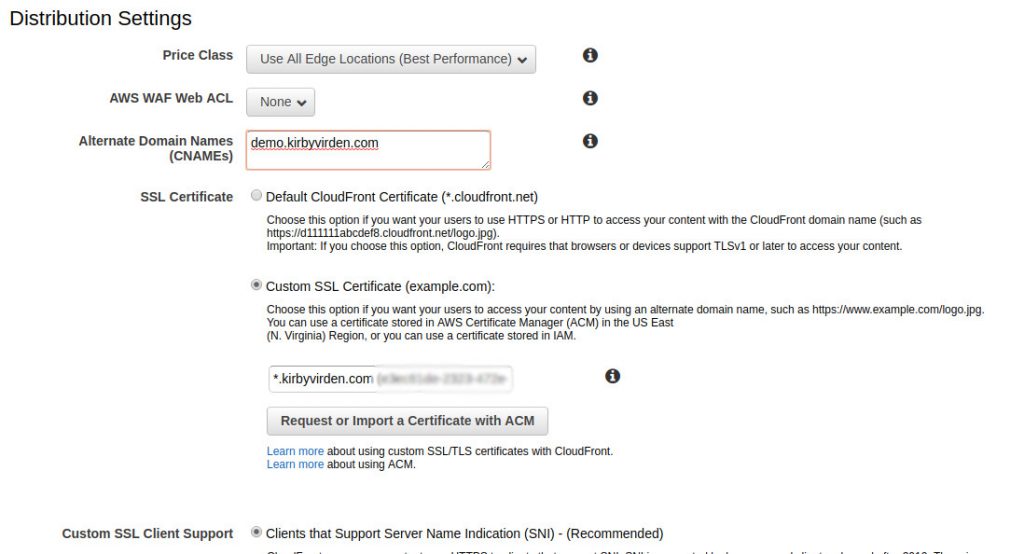
Enter Distribution Settings as follows
- Enter the custom URL you plan to use for your distribution as an Alternative Domain Names (CNAMEs)
- Select Custom SSL Certificate (example.com): for the SSL Certificate
- Select the certificate you created with the Amazon Certificate Manager
Here are a couple of example screenshots for the Distribution Settings on my CloudFront Distribution
Finally, select Create Distribution at the bottom of the page
The Status of the distribution will display In Progress while CloudFront deploys it.
Wait until CloudFront completes distribution and Status is Deployed.
Step 2: Create a record set in Route 53
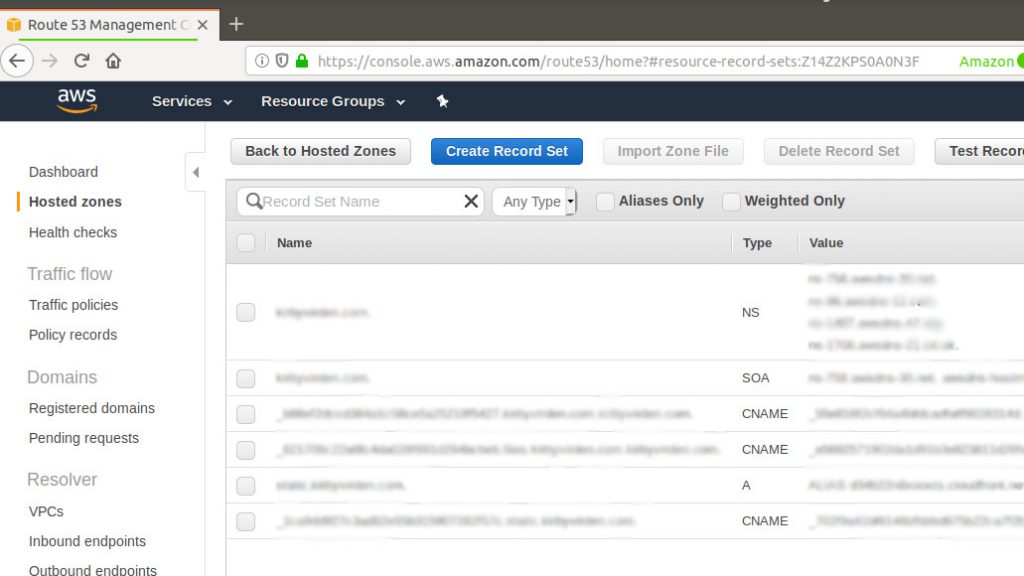
After the CloudFront distribution is deployed, sign in to the AWS Management Console, navigate to the Route 53 service, and click on Hosted zones
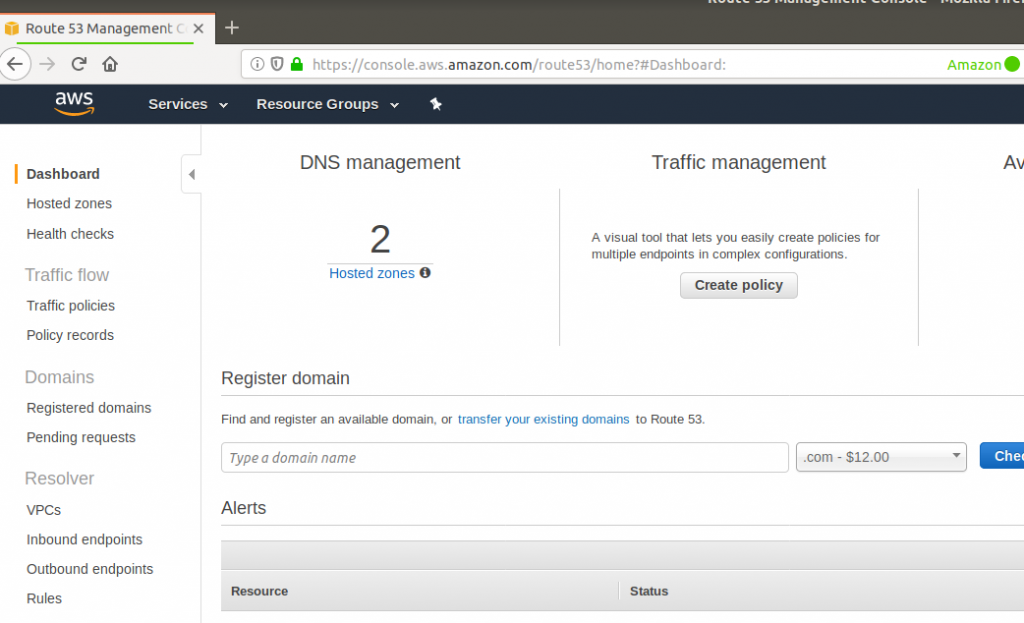
Click on the appropriate Domain Name and then click on Create Record Set
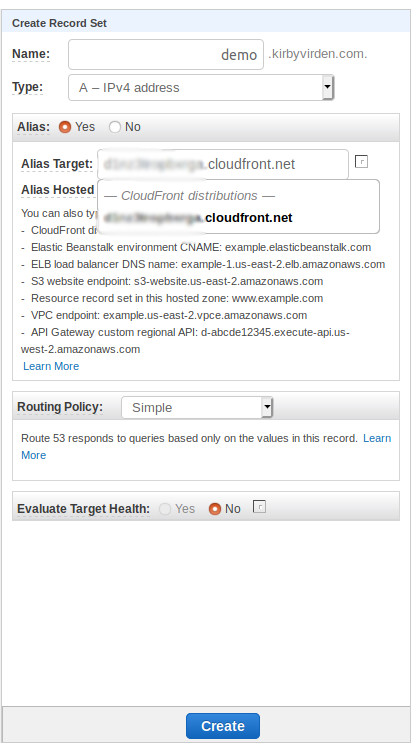
Create an A record as follows –
- In the Name: field, type the subdomain name or an asterisk “*” to use the root domain
- Select A – IPv4 address for Type:
- Select Yes for Alias
- Select the name of the distribution as a target name under CloudFront Distributions for Alias Target
- Click Create
Example –
Conclusion
You have now created the deployment environment on Amazon Web Services that you need in order to host your serverless WordPress site on AWS.
Feel free to upload a test Index document to your new S3 bucket to test your AWS environment. Upload the file, launch a web browser, and enter your URL.
Next we will walk through the steps to create a local development environment for WordPress, generate static files, and upload to Amazon S3. Let’s start with installing XAMPP on your local machine.
- Set up the deployment environment on AWS
- Set up a local development environment
- Generate and upload your content to AWS