To begin setting up a local development environment for your serverless WordPress site on AWS you need download and install XAMPP on your local machine. This will give you a secure development environment for your WordPress site.
XAMPP is a (X)cross-platform (A)pache distribution that includes (M)ariaDB, (P)HP, and (P)erl. It is one of the easiest ways to run WordPress on your local machine.
Step 1: Download the appropriate installation package
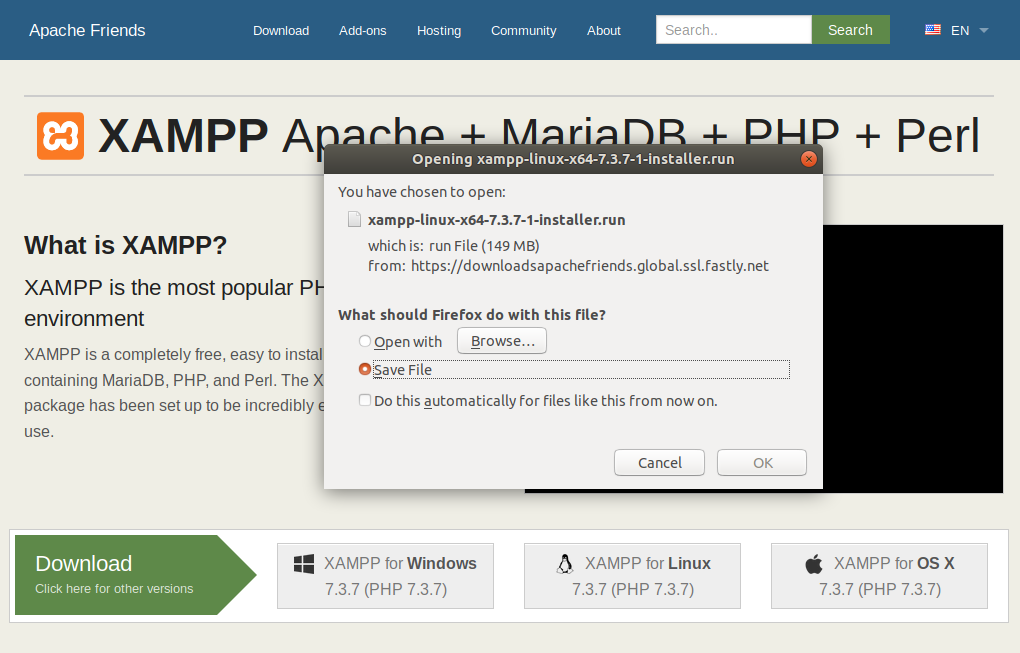
Visit the download page and select the appropriate package for your OS. Since I am running Ubuntu I will select the download for Linux.
https://www.apachefriends.org/index.html
Select Save File and click on OK
Step 2: Make the installation package executable
For Ubuntu we need to make the installation package executable. This step is not necessary for Windows installations.
Open the terminal window (CTL+ALT+T) and change directories to location of the installation package that you just downloaded.
$ cd ~/Downloads/
List the files in the download folder.
$ ls
Make the XAMPP file executable. Tip: begin typing the name of the package (e.g. “xam”) and then hit the TAB key to autocomplete the package filename.
$ sudo chmod 755 [package name]
For example, I downloaded xampp-linux-x64-7.3.7-0-installer-run. So I issued the following command –
$ sudo chmod 755 xampp-linux-x64-7.3.7-0-installer-run
Confirm that the run package is now executable
$ ls -l
If the result displays -rwxr-xr-r then you are good to go! In my case the following information is displayed
$ -rwxr-xr-x 1 $USER $USER 156600703 Jul 18 08:56 xampp-linux-x64-7.3.7-0-installer.run
Step 3: Launch the setup wizard
You are now ready to launch the setup wizard.
$ sudo ./[package name]
In my particular case the command is as follows
$ sudo ./xampp-linux-x64-7.3.7-0-installer.run
This command will launch the graphical setup wizard.
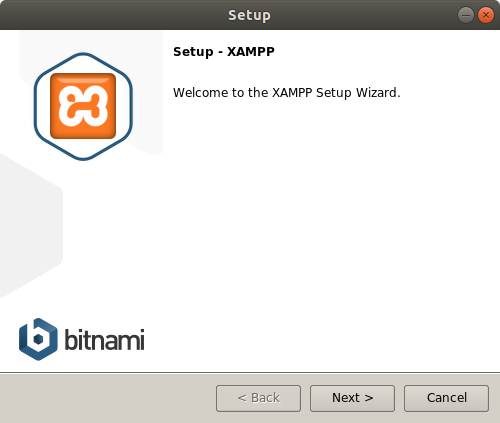
Step 4: Follow the steps of the setup wizard
All of default settings are acceptable for installation. Simply click through the various dialog boxes.
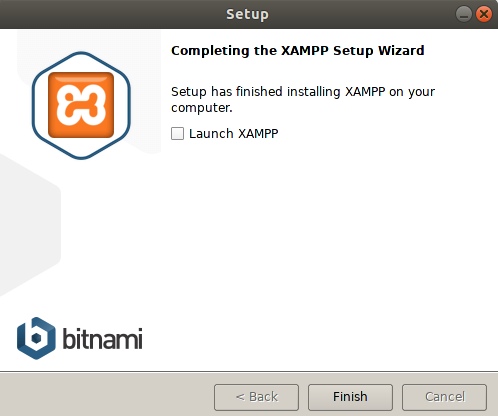
Once installation is complete you will see the following dialog box. Click Finish and you are done installing XAMPP!
Step 5: Launch XAMPP from the command line
After XAMPP is installed on your machine Ubuntu users will need to use the command line to launch the application each time you restart your local machine.
$ sudo /opt/lampp/lampp start
Step 6 (optional): Create an alias command to launch XAMPP
To save time you may prefer to create a shorter, alias command.
First change directory to the home folder.
$ cd ~
You may need to edit or create a file called .bash_aliases. Execute the ls -a command to see if the file already exists.
$ ls -a
If .bash_aliases does not exist then create it.
$ touch .bash_aliases
Now edit the .bash_aliases file.
$ nano .bash_aliases
Use the following format to create an alias command
$ alias [NAME]=”sudo /opt/lampp/lampp start”
You can name your alias command anything that want. In my case, I named the alias command xampp
$ alias xampp=”sudo /opt/lampp/lampp start”
Write out the file (CTL+W)
Exit and save (CTL+X)
After a restart you can launch XAMPP from the command line by typing in your alias command name and entering your sudo password. For example, on my system I simply type xampp at the command line.
$ xampp
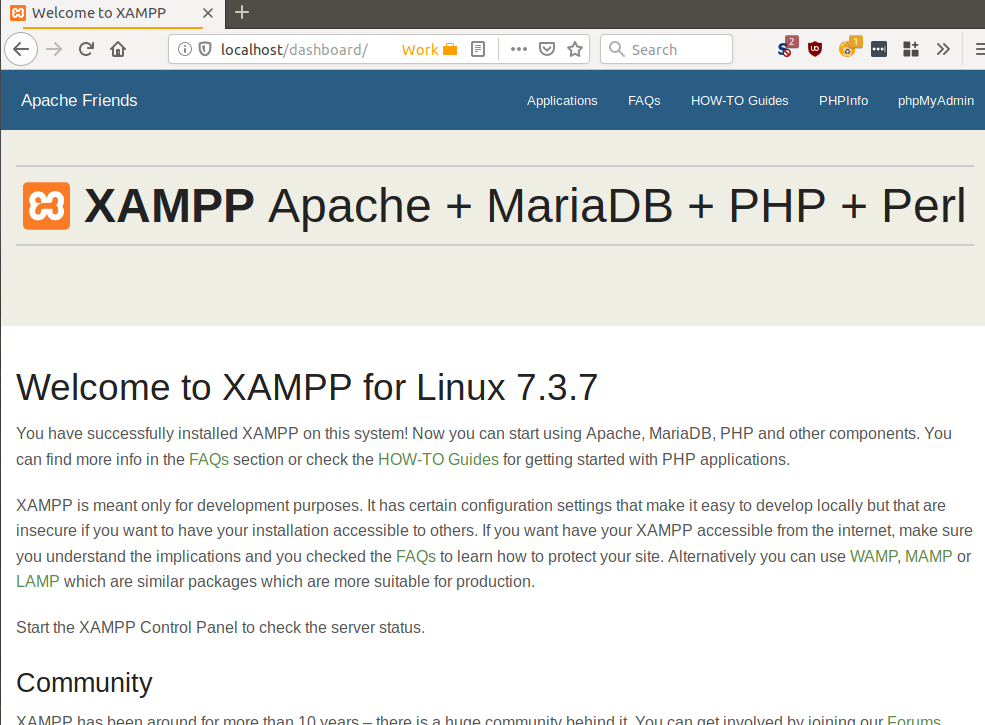
Step 7: Verify installation
To verify the install of XAMPP open a web browser and enter http://localhost. You should see the XAMPP welcome screen
Summary
With XAMPP installed on your local machine you are ready to complete the process of setting up a local development environment. Next we will install the WordPress module for XAMPP.
- Set up the deployment environment on AWS
- Set up a local development environment
- Generate and upload your content to AWS