The next step in deploying a serverless WordPress site on AWS is to prepare WordPress for deployment. At this point you should have installed XAMPP on your local machine and installed the WordPress module for XAMPP.
I recommend that you start with some test content in order to validate that your development environment is set up correctly.
Once the content is prepared for test then we will install the WP2Static plugin, which is the method we will use to upload the static files to AWS S3.
Step 1: Add theme, plugins, and content
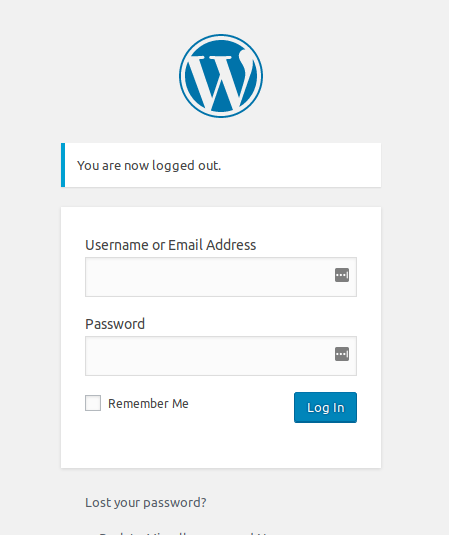
Log in to the administer page for WordPress. Open a web browser and enter localhost/WordPress/wp-admin.php
Enter your admin username and password to log in.

Proceed with setting up the WordPress environment that you want to test –
- Activate a theme
- Install plugins
- Generate test content
- Add some test images
Step 2: Install WP2Static Plugin
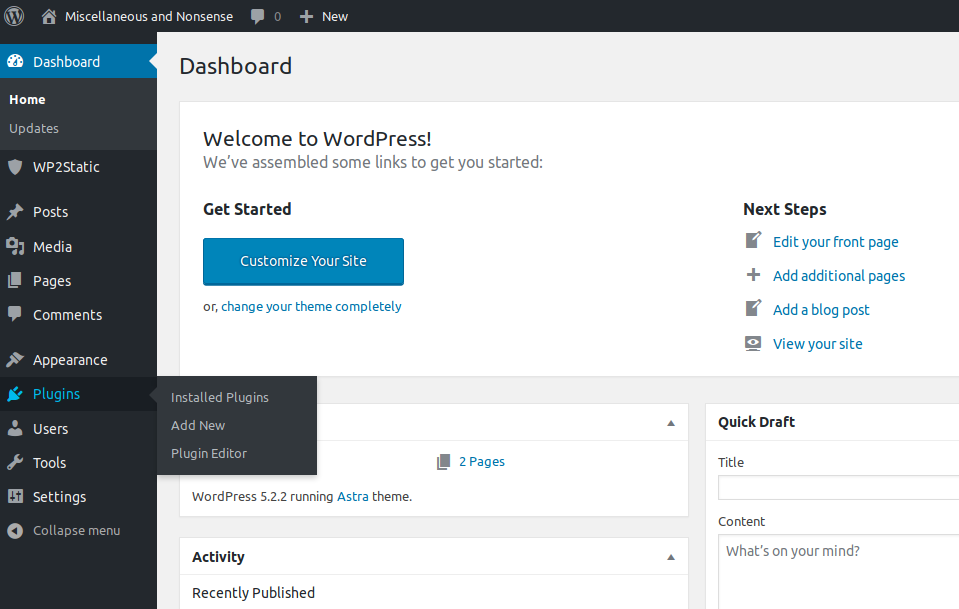
From the WordPress admin dashboard, navigate to Plugins > Add New

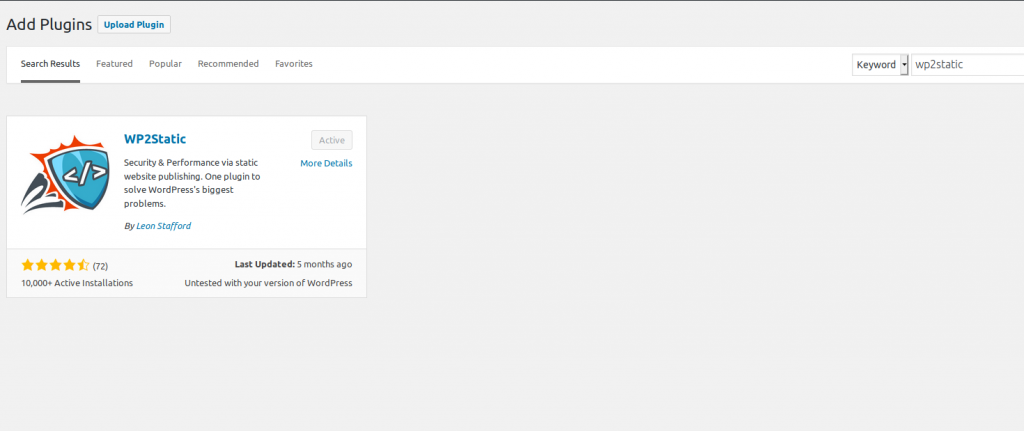
Enter WP2Static in the search bar

Click Install and then Activate
Summary
At this point you are almost ready to distribute your content of your serverless WordPress site on AWS. We just have one more step left before deployment – upload your WordPress files to Amazon S3 using WP2Static.
- Set up the deployment environment on AWS
- Set up a local development environment
- Generate and upload your content to AWS